
A bath pillow is one of the few home items where the shop-bought version is genuinely easy to beat. Most of the ones you can buy solve the comfort problem and ignore the drying problem, which is why so many of them end up in the bin after a few months with grey speckling along the seams. Making your own lets you choose materials that shed water instead of holding it, and lets you set the height to your own neck rather than to an average.
This guide covers three builds at different effort levels, plus the material rules that apply to all of them. None requires advanced sewing. The hardest version is a straight-seam rectangle, and the easiest involves a bread knife and a pool noodle.
The one rule that decides whether your pillow lasts
Before any build, understand the failure mode you are designing against. A bath pillow lives in the wettest, least ventilated room in the house. It gets soaked, then sits in warm humid air until the next bath. Any material that holds water inside itself will stay damp for days, and damp organic fiber in a warm dark space is exactly the condition mildew needs.
That rules out a surprising amount of what people reach for first. Terry cloth, the fabric most associated with bathrooms, is designed to absorb and hold water. It is excellent on a body and poor inside a cushion. Polyester fiberfill is worse, because it traps water in the spaces between fibers and has no path for it to drain out. Cotton batting is worst of all.
What works instead falls into two categories. Closed-cell foam, the kind used in pool noodles, camping mats and some packaging, does not take water into its structure at all, because the cells are sealed. Open mesh fabric, the three-dimensional spacer mesh used in sports bags and shoe uppers, lets water run straight through and air circulate afterward. Build with those two and your pillow dries between baths without any effort on your part.

Build one: the pool noodle pillow, about ten minutes
This is the build to start with, partly because it is nearly free and partly because it tells you what height and position you actually want before you commit to sewing anything.
What you need
One pool noodle, two or three suction cups with a stem or hook (the kind sold for hanging bathroom accessories), a serrated bread knife, and a marker. That is the entire list.
Steps
Sit in your empty tub in your normal bathing position and have someone mark the back of the tub where your neck meets it, or reach back and mark it yourself. This is the only measurement that matters, and it is the step most people skip. Necks sit at different heights depending on tub shape and how far down you slide.
Measure the width of your tub at that height and cut the noodle about four inches shorter with the bread knife. A sawing motion works better than pressing. Shorter than the tub width means the ends do not jam against the curved sides, which is what makes a full-width noodle pop out from behind you.
Push the stem of each suction cup into the foam about six inches in from each end. Pool noodle foam grips a plastic stem firmly without any adhesive. If your suction cups have a flat back rather than a stem, cut a shallow slot with a craft knife and seat them in that.
Wet the cups, press them to the tub at your marked height, and sit back against it. If the noodle sits too low, move it up. If it digs into your neck rather than supporting it, the noodle is too thick for you, and the fix is to slice a shallow flat along the side that faces your neck.
What it is good at and not good at
It dries almost instantly, it costs very little, and it is trivially replaceable. It is also visibly a pool noodle, which some people will not want in a bathroom they have otherwise styled. The single cylinder also supports the neck only, with nothing for the head or upper back, which is fine for a short soak and tiring on a long one.
Build two: the no-sew mesh roll, about half an hour
This version looks like a real product and still involves no sewing machine. It wraps closed-cell foam in quick-drying mesh and uses a drawstring rather than seams.
What you need
A piece of three-dimensional spacer mesh or a mesh laundry bag, a length of pool noodle or a strip of closed-cell camping mat, a cord or shoelace, two suction cups with hooks, and a pair of scissors.
Steps
Cut the foam to the width you established in build one. If you are using camping mat rather than a noodle, roll it into a cylinder about four inches across and tie it loosely in two places to hold the roll.
Lay the mesh flat and roll the foam inside it so the mesh wraps around at least twice. The second layer is what gives the surface a soft feel against skin without adding anything that holds water.
Gather the mesh at both ends like a sweet wrapper and tie each end tightly with the cord, leaving a few inches of tail. Those tails are what you will loop over the suction cup hooks.
Mount two suction cup hooks on the tub at your marked height, spaced to match the pillow, wet them, press firmly, and loop the cord tails over them. Because the pillow hangs from hooks rather than being glued to cups, you can lift it off entirely to dry it over a towel rail, which is the main advantage of this build.
Notes
A mesh laundry bag works perfectly well and is the cheapest route. If you want the pillow to look deliberate rather than improvised, spacer mesh sold by the metre for sportswear comes in plain colors and has enough body to hold a neat cylinder.
Build three: the sewn suction cup pillow, about two hours
This is the full version: a shaped, two-panel pillow with a reinforced back, sewn suction cup anchors, and a removable inner pad. It is still only straight seams.
Materials
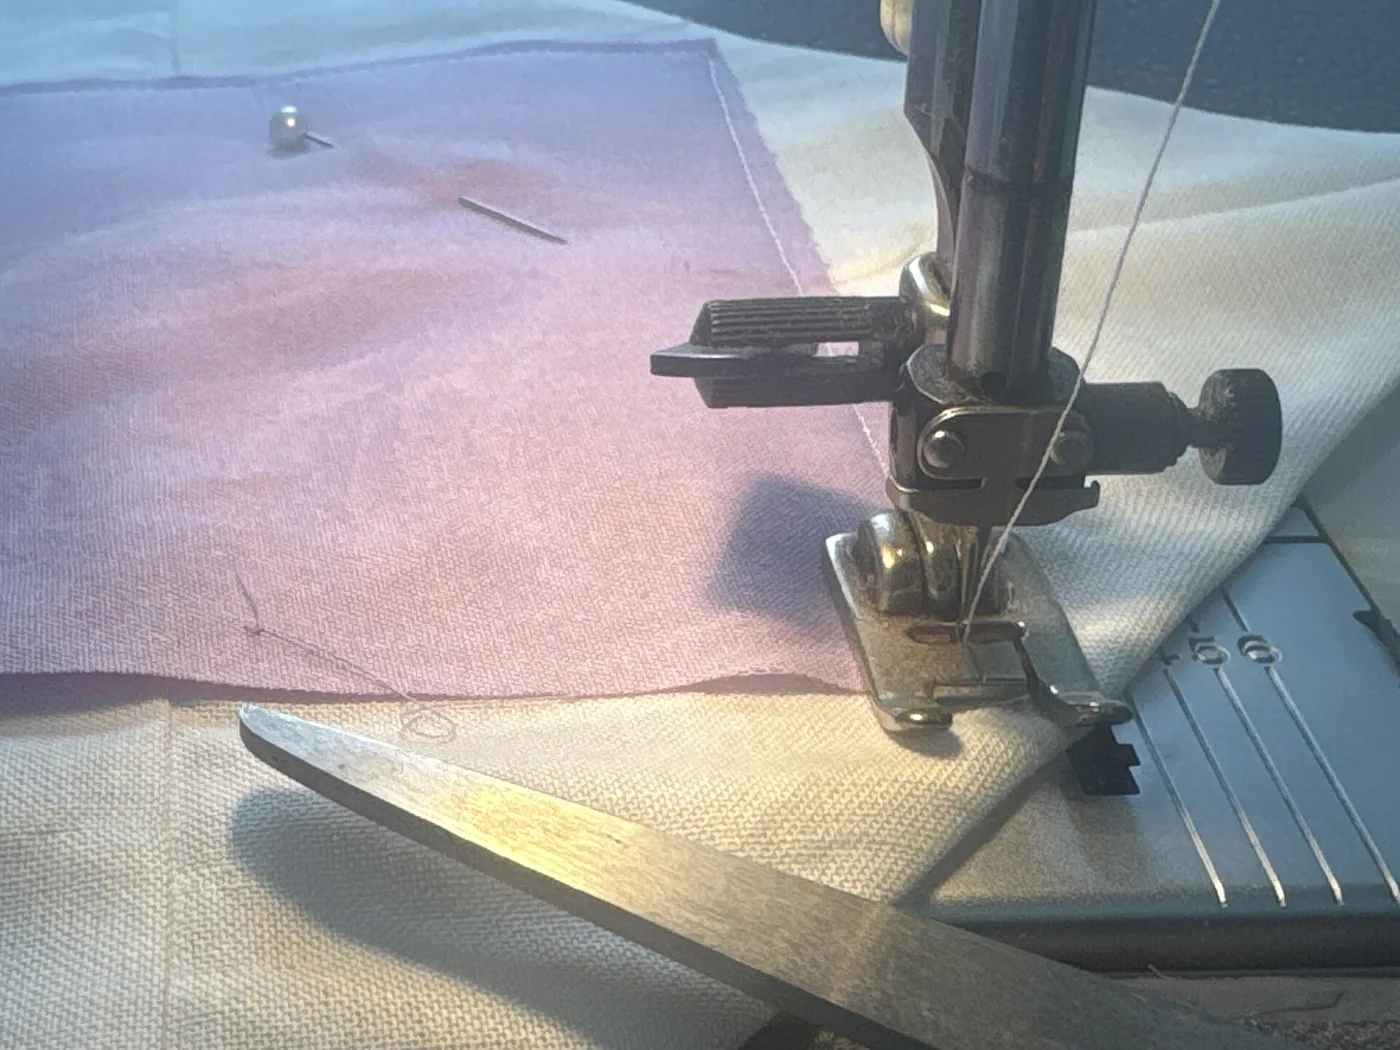
For the front panel, three-dimensional spacer mesh, around sixteen inches by eleven inches. For the back panel, marine vinyl or a coated canvas in the same size, which gives the suction cups a smooth surface to pull against and keeps the back from flexing. A scrap of heavy interfacing or an extra vinyl square for reinforcement. Closed-cell foam cut to about fourteen by nine inches for the inner pad. Three suction cups with threaded stems and nuts, the type sold for mounting bathroom shelves. Polyester thread, which does not rot the way cotton thread does in a wet environment. A universal size 90 or 100 needle.
Cutting and shaping
Cut both panels to size with a half inch seam allowance all round. Round the two top corners using a mug as a template, which removes the stiff points that otherwise poke at your shoulders.
Cut the foam pad slightly smaller than the finished pillow so it sits inside without straining the seams. If you want a contoured shape, stack two layers of foam and trim the upper layer narrower, so the pillow is thicker at the neck and thinner at the head.
Reinforcing the suction cup anchors
This is the step that separates a pillow that lasts from one that tears within a month. Suction cups put all their load on three small points, and vinyl alone will eventually tear at those points.
Mark three positions on the back panel: one centered about two inches from the top edge, and two about two inches in from each side at mid height. Behind each mark, stitch a two inch square of heavy interfacing or a doubled vinyl patch to the inside face of the back panel. Then punch or cut a small hole through both layers at each mark, just large enough for the threaded stem.
Push each suction cup stem through from the outside, and tighten the nut on the inside against the reinforced patch. The load is now spread across a two inch square instead of a single hole.
Assembly
Place the front and back panels right sides together and sew around the perimeter with a half inch seam, leaving a six inch opening along the bottom edge. Clip the curves at the rounded corners so they turn cleanly, then turn the whole thing right side out through the opening.
Slide the foam pad in through the opening. Fold the raw edges of the opening inward and topstitch it closed, or install a short zip there if you want to be able to remove the pad for cleaning. A zip is worth the extra fifteen minutes, because being able to take the foam out and rinse the shell makes the pillow much easier to keep fresh.
First fitting
Wet the three suction cups, press them to the dry tub wall at your marked height, and hold each one for a few seconds. Suction cups need a clean, dry, smooth surface to seat properly. Soap film is the usual reason they let go, so wipe the mounting area before the first fitting and once every few weeks after that.
Making suction cups actually hold
Almost every complaint about bath pillows, bought or made, comes down to suction cups failing. Four things fix it.
Clean the surface. Soap residue is a thin film of exactly the sort of thing that prevents a seal. Wipe the mounting spot with a little white vinegar on a cloth, then dry it, before mounting.
Mount on a smooth area. Acrylic and enamel tubs are ideal. Textured non-slip sections and tile grout lines are not, and no amount of pressing will make a cup hold across a grout line.
Wet the cup, not the wall. A thin film of water on the cup face helps it expel the air underneath. A wet wall just slides.
Press from the center outward. Put your thumb in the middle of the cup, press hard, then work outward with your fingers to push the remaining air out at the edges. A cup pressed flat all at once traps a bubble and will creep loose within the hour.
Getting the size right for your tub
Three measurements decide whether the pillow is comfortable, and all three are easy to take with an empty tub and a tape measure.
Neck height is where the top of your shoulders meets the tub when you are in your normal position. Mark it. Everything else follows from this number, and it is usually lower than people guess because most of us slide down.
Back angle matters more than width. A tub with a steeply sloped back already supports your spine, so it needs a thin pillow, around two to three inches thick, purely to stop the hard surface pressing on your neck. A tub with a near vertical back needs four inches or more, because the pillow has to make up the whole difference between your head position and the wall.
Usable width is the measurement at neck height, not at the rim. Tubs taper, and a pillow cut to rim width will wedge itself at an angle. Cut three to four inches narrower than the measurement at neck height.
Keeping it clean
Even a well-built pillow needs a routine, and it is a short one.
After each bath, lift the pillow off the wall and stand it on edge or hang it over the tub rim. Leaving it stuck to the wall means the flat back face never dries, and that face is where mildew starts.
Once a month, take the foam out if your build allows it and rinse the shell in warm water with a little mild detergent. Mesh rinses clean in a minute and dries in an hour.
Every few months, wipe the suction cups and the mounting area with white vinegar. It removes the soap film and the mineral scale that both reduce grip, and it takes about thirty seconds.
If you ever see dark speckling that does not rinse out, replace the shell. Mildew staining in fabric is a sign that the material is holding water, which means the build needs a different material rather than a better cleaning routine.
Choosing between the material options
Four shell materials come up repeatedly in bath pillow projects, and they behave very differently once they are wet.
Three-dimensional spacer mesh. The best all-round choice. It has a springy middle layer sandwiched between two open faces, so water passes straight through and air moves through the middle as it dries. It feels textured rather than plush, which some people dislike against bare skin, and it is the material most commercial bath pillows have moved to for exactly these reasons.
Marine vinyl. Fully waterproof, wipes clean, and gives suction cups a smooth surface to grip. The drawback is that it is a sealed surface, so any water that gets inside stays inside. Use it for the back panel, where sealing is an advantage, and avoid it as a full enclosure unless the inner pad is closed-cell foam that does not care about being damp.
Ripstop nylon. Light, fast-drying and cheap, but slippery. A nylon-shelled pillow slides down the tub wall under body weight unless it is held by three well-seated suction cups. Workable, but not the easiest material for a first build.
Terry cloth. The most comfortable to lie against and the worst at everything else. Only use it as a removable outer slipcover that goes in the wash with the towels.
For filling, the choice is narrower. Closed-cell foam in any form, pool noodle, camping mat or packaging foam, is the right answer. Open-cell upholstery foam is the common mistake: it looks like the right thing, compresses nicely, and acts like a sponge. If you squeeze a foam offcut under a tap and it takes up water, it does not belong in a bath pillow.
Five mistakes that ruin a homemade bath pillow
Measuring at the rim instead of at neck height. Tubs taper inward as they go down. A pillow cut to the width at the rim wedges diagonally the moment you lean back, and no amount of suction cup adjustment fixes a part that is simply too wide.
Using fiberfill because it is what is in the cupboard. It will feel right for about a week. Fiberfill has no drainage path, so water stays in the spaces between fibers and the pillow never fully dries between baths.
Mounting suction cups without reinforcement. A cup stem through a single layer of fabric concentrates all the pull on one small hole. Add a two inch backing patch at each anchor point and the same pillow survives years instead of months.
Making it too thick. Most people overestimate how much loft they need. A pillow that pushes your head forward of your shoulders creates neck strain within a few minutes, which is the opposite of what you built it for. Start at the thin end and add rather than subtract.
Leaving it stuck to the wall between baths. The back face is the only surface that cannot breathe while mounted. Lifting the pillow off after each use costs two seconds and roughly doubles its usable life.
Common questions
Can I use an ordinary cushion with a waterproof cover?
Not well. A waterproof cover keeps water out until the first time water gets past the zip or a seam, and then it keeps that water in. Waterproofing the outside of an absorbent filling makes the drying problem worse rather than better, which is the opposite of what you want.
What about waterproofing spray on fabric?
Fabric spray helps a surface shed splashes and does nothing for a cushion that gets submerged or saturated. It is a reasonable extra on a mesh shell and not a substitute for choosing a non-absorbent filling.
Is terry cloth ever acceptable?
As a removable outer cover that you take off and launder after every few uses, yes, and it does feel better against the skin than mesh. As the permanent shell around a filling, no. If you want the terry feel, make the shell in mesh and sew a loose terry slipcover that you can wash with the towels.
How thick should the pillow be?
Two to three inches for a sloped back tub, four to five for a vertical one. Start thicker than you think and shave it down, since trimming closed-cell foam is easy and adding thickness later is not.
Will the suction cups mark the tub?
On acrylic and enamel, no. On a painted or refinished tub surface, possibly, because the cups create a seal that can lift a weak coating over time. If your tub has been refinished, use the hanging version from build two with hooks mounted on tile rather than on the tub itself.
Can I make one for a tub with a textured bottom and curved walls?
Yes, but mount from the tile above the tub rather than from the tub wall. Two suction hooks on smooth tile with cord loops, as in build two, handles curved and textured tubs that defeat back-mounted cups entirely.
The bottom line
Start with the pool noodle version even if you intend to sew the full one. Ten minutes of work tells you your neck height, the thickness your tub actually needs and whether the suction cups hold on your surface, and all three of those are things you would otherwise be guessing at while cutting expensive mesh.
Then build the version that matches how much you care about the look. The mesh roll is the sweet spot for most people: half an hour, no machine, lifts off to dry, and looks intentional. The sewn version is worth it if you want a shaped pillow that matches a bathroom you have put effort into, and the reinforced suction anchors are what make it last long enough to justify the afternoon.